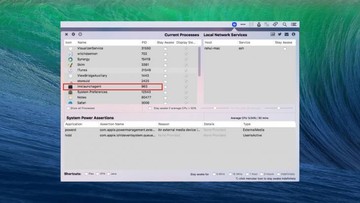
Although imklaunchagent is, ideally, a legitimate macOS component, malware can mimic it to run undetected and disrupt the system’s normal functioning.
No matter how intelligently macOS allocates resources to handle day-to-day tasks in a hassle-free way, modern malware can easily throw a spanner in the works. A particularly clever trick employed by shady code is to impersonate a genuine system service, run with equally high privileges, and thereby slip under the radar of traditional security mechanisms. A long-running campaign of that kind involves an entity called imklaunchagent. It’s worth stressing from the get-go that, technically speaking, this isn’t a harmful item. It is part of Apple’s Input Method Kit framework based on Objective-C, which provides developers with instruments such as classes and protocols to create input commands supported across the macOS environment. For instance, it deals with interfaces in languages like Chinese and Japanese.
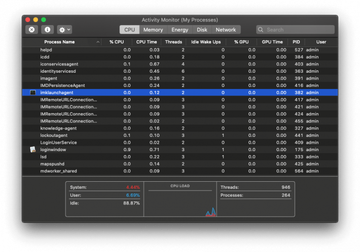
Normally, imklaunchagent operates silently in the background and doesn’t signal its presence beyond being listed in the Activity Monitor. A frustrating side of the matter kicks in when this process starts sapping the machine’s CPU and memory power. What complicates the troubleshooting in this case is that this drag can occur due to buggy implementation of the benign language-related routine. One of the common reasons for this scenario comes down to enabling the Enhanced Dictation feature via the Accessibility screen under System Preferences. It’s hard to say why exactly voice control may trigger anomalous response through a continuous CPU spike, but this predicament is reported by numerous users. There can be a much shadier flip side of this service, though.
Imklaunchagent may re-infect your Mac multiple times unless you delete all of its fragments, including hidden ones. Therefore, it is recommended to download Combo Cleaner and scan your system for these stubborn files. This way, you may reduce the cleanup time from hours to minutes.
Download Now Learn how Combo Cleaner works. If the utility spots malicious code, you will need to buy a license to get rid of it.When a piece of malware tiptoes its way into a Mac, it may generate a knockoff imklaunchagent process virus. This form of spoofing is typically aimed at avoiding detection, with the system having a hard time differentiating between the real executable and an imitation object. Because the impostor binary doesn’t raise red flags, the underlying infection can fulfill its shady mission without being hampered by the native macOS defenses. If such a situation is the case, the malicious service alone may consume up to 100% of the available CPU and RAM capacity. It doesn’t take a rocket scientist to predict the aftermath of this digital gluttony. The computer will slow down to a crawl and become incapable of handling the rest of the applications the victim tries to use. To top it off, the system fan will get noisy to prevent overheating.
What kind of malware can pass itself off as imklaunchagent and wreak havoc with the host by exhausting its hardware? It could be a dodgy crypto-jacking application that piggybacks on the Mac’s processing unit to mine coins. Whereas some threats from this category apply throttling schemes to limit potentially detrimental CPU consumption, this one doesn’t. It tries to squeeze a maximum out of the victimized machine. Adware is another form of unwanted software engaging in this impersonation foul play. Although these culprits usually don’t require a large amount of processing resources to do their evil thing, some of them are crudely coded and may lead to unintended after-effects. Fake system optimizers are on the list of suspects, too. Unlike adware, they may deliberately deteriorate the performance of a poisoned Mac to upsell their cleaning features.
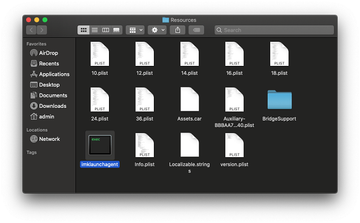
The occurrence of the malware-borne imklaunchagent issue is typically preceded by an installation of some seemingly innocuous app. The catch is that the software comes with a malicious bundle the user is clueless about. The attack takes place as long as the would-be victim sticks with the default setup mode that promotes a multi-pronged package. A worthwhile tip to determine whether a dangerous replica of the original process is on board is to take a look at its file path. The location of the benign service is as follows: /System/Library/Frameworks/InputMethodKit.framework/Versions/A/Resources/imklaunchagent. If it’s different, it means that a copycat has settled down in the system. The steps below will help address the adverse situation caused by a strain of Mac malware.
Imklaunchagent virus manual removal for Mac
The steps listed below will walk you through the removal of this malicious application. Be sure to follow the instructions in the specified order.
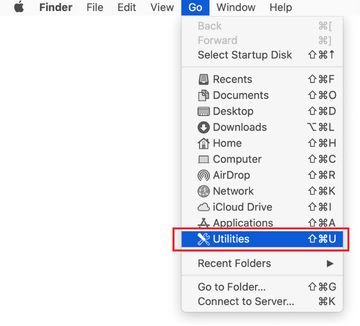
Expand the Go menu in your Mac’s Finder bar and select Utilities as shown below.
Locate the Activity Monitor icon on the Utilities screen and double-click on it.
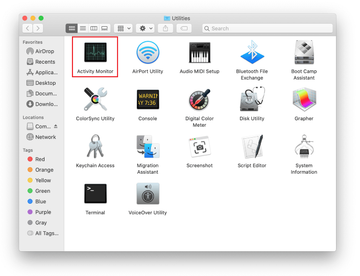
In the Activity Monitor app, look for imklaunchagent or another process that appears suspicious. To narrow down your search, focus on unfamiliar resource-intensive entries on the list. Keep in mind that its name isn’t necessarily related to the way the threat is manifesting itself, so you’ll need to trust your own judgement. If you pinpoint the culprit, select it and click on the Stop icon in the upper left-hand corner of the screen.
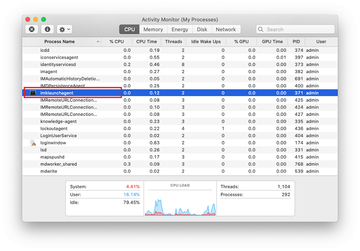
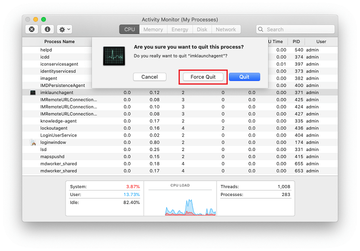
When a follow-up dialog pops up asking if you are sure you want to quit the troublemaking process, select the Force Quit option.
Click on the Go menu icon in the Finder again and select Go to Folder. You can as well use the Command-Shift-G keyboard shortcut.
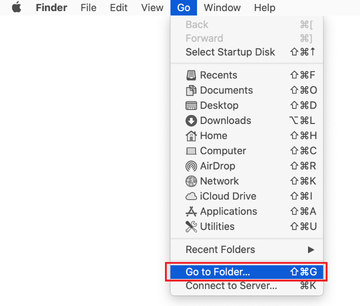
Type /Library/LaunchAgents in the folder search dialog and click on the Go button.
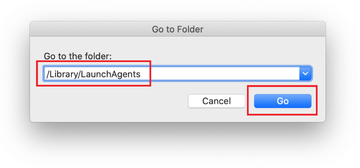
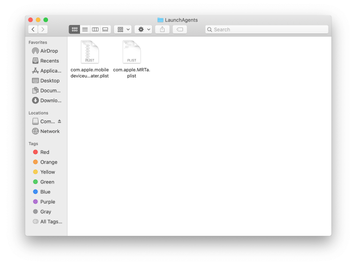
Examine the contents of the LaunchAgents folder for dubious-looking items. Be advised that the names of files spawned by malware may give no clear clues that they are malicious, so you should look for recently added entities that appear to deviate from the norm.
As an illustration, here are several examples of LaunchAgents related to mainstream Mac infections: com.pcv.hlpramc.plist, com.updater.mcy.plist, com.avickUpd.plist, and com.msp.agent.plist. If you spot files that don’t belong on the list, go ahead and drag them to the Trash.
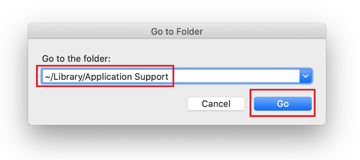
Use the Go to Folder lookup feature again to navigate to the folder named ~/Library/Application Support (note the tilde symbol prepended to the path).
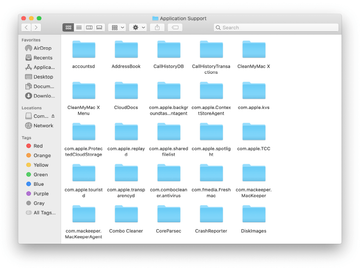
When the Application Support directory is opened, identify recently generated suspicious folders in it and send them to the Trash. A quick tip is to look for items whose names have nothing to do with Apple products or apps you knowingly installed. A few examples of known-malicious folder names are Advanced Mac Tuneup, IdeaShared, and ProgressMatch.
Enter ~/Library/LaunchAgents string (don’t forget to include the tilde character) in the Go to Folder search area.
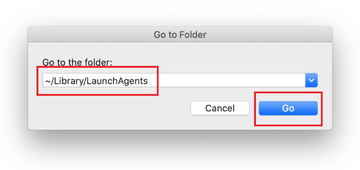
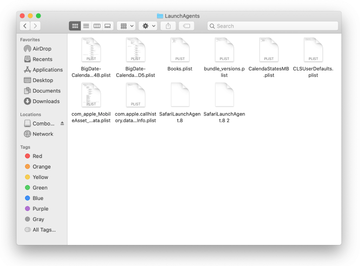
The system will display LaunchAgents residing in the current user’s Home directory. Look for dodgy items related to [VIRUSNAME] virus (see logic highlighted in subsections above) and drag the suspects to the Trash.
Type /Library/LaunchDaemons in the Go to Folder search field.
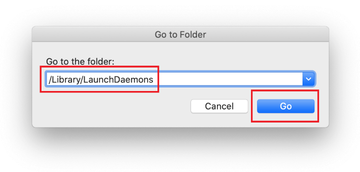
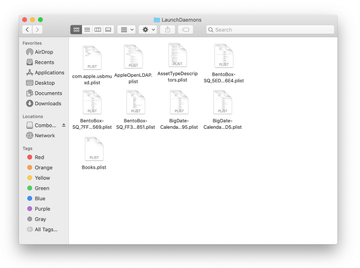
In the LaunchDaemons path, try to pinpoint the files the malware is using for persistence. Several examples of such items cropped by Mac infections are com.pplauncher.plist, com.startup.plist, and com.ExpertModuleSearchDaemon.plist. Delete the sketchy files immediately.
Click on the Go menu icon in your Mac’s Finder and select Applications on the list.
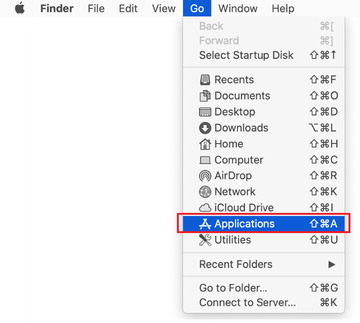
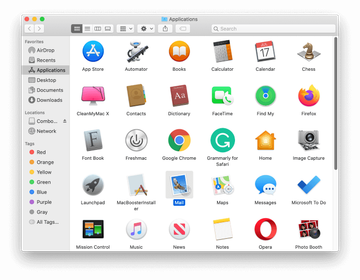
Find the entry for an app that clearly doesn’t belong there and move it to the Trash. If this action requires your admin password for confirmation, go ahead and enter it.
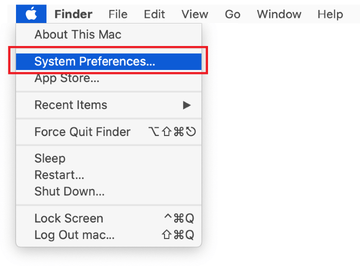
Expand the Apple menu and select System Preferences.
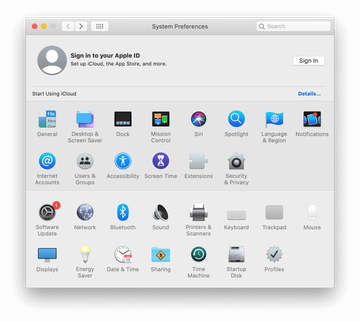
Proceed to Users & Groups and click on the Login Items tab.
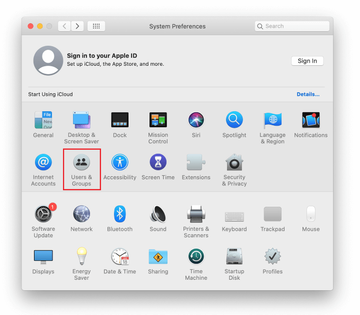
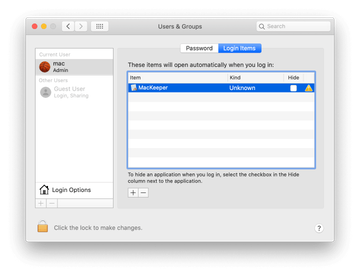
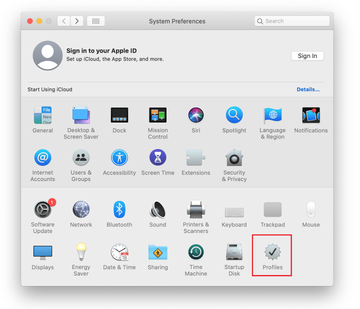
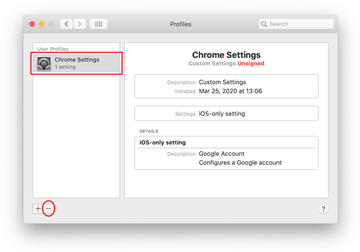
Now select Profiles under System Preferences. Look for a malicious item in the left-hand sidebar. Several examples of configuration profiles created by Mac adware include TechSignalSearch, MainSearchPlatform, AdminPrefs, and Chrome Settings. Select the offending entity and click on the minus sign at the bottom to eliminate it.
Get rid of imklaunchagent virus using Combo Cleaner removal tool
The Mac maintenance and security app called Combo Cleaner is a one-stop tool to detect and remove Imklaunchagent virus. This technique has substantial benefits over manual cleanup, because the utility gets hourly virus definition updates and can accurately spot even the newest Mac infections.
Furthermore, the automatic solution will find the core files of the malware deep down the system structure, which might otherwise be a challenge to locate. Here’s a walkthrough to sort out the Imklaunchagent issue using Combo Cleaner:
Download Combo Cleaner installer. When done, double-click the combocleaner.dmg file and follow the prompts to install the tool onto your Mac.
By downloading any applications recommended on this website you agree to our Terms and Conditions and Privacy Policy. The free scanner checks whether your Mac is infected. To get rid of malware, you need to purchase the Premium version of Combo Cleaner.
Open the app from your Launchpad and let it run an update of the malware signature database to make sure it can identify the latest threats.
Click the Start Combo Scan button to check your Mac for malicious activity as well as performance issues.
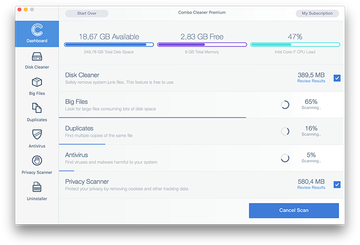
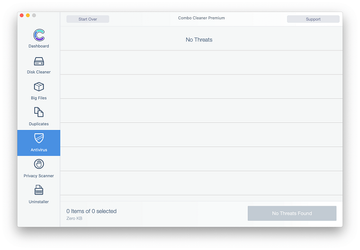
Examine the scan results. If the report says “No Threats”, then you are on the right track with the manual cleaning and can safely proceed to tidy up the web browser that may continue to act up due to the after-effects of the malware attack (see instructions above).
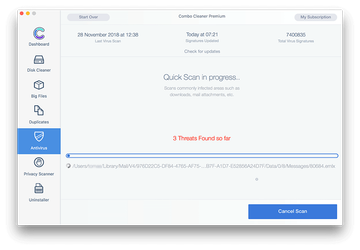
In case Combo Cleaner has detected malicious code, click the Remove Selected Items button and have the utility remove Imklaunchagent threat along with any other viruses, PUPs (potentially unwanted programs), or junk files that don’t belong on your Mac.
Once you have made doubly sure that the malicious app is uninstalled, the browser-level troubleshooting might still be on your to-do list. If your preferred browser is affected, resort to the previous section of this tutorial to revert to hassle-free web surfing.
