The article highlights the likely reasons for uninstalling Xcode from a Mac machine and provides a workaround for doing so.
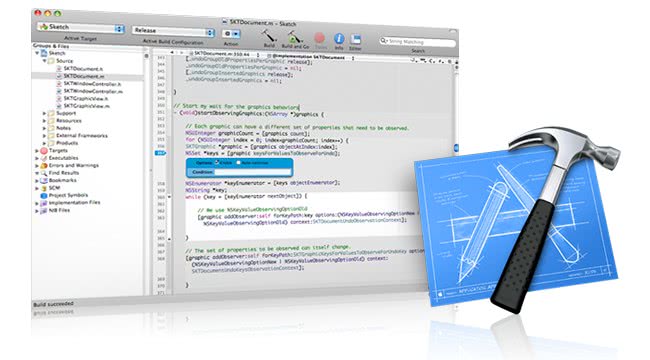
First and foremost, this isn’t really going to be another Mac virus cleanup guide like many of the previous entries posted here. The troubleshooting scenario to be looked into, however, should come in handy to a large user base due to the relevance of the issue in question. To start off, a brief introduction to the topic: Xcode is Apple’s widely used integrated development environment (IDE) for Mac OS X and iOS. In other words, it’s a must-have thing to build apps, delivering such essential features as user interface debugging, iPhone simulation, live rendering of custom objects, performance testing and many more tools that Mac, iPhone and iPad application developers can hardly do without.
Now, what if there emerges a need to get rid of Xcode? Before we proceed on the steps to follow, it makes sense stating upfront why this could possibly be on the agenda.
• In case there is no need to use Xcode for the moment or permanently, uninstalling it means freeing a lot of hard drive memory. The application installer alone is about 2GB in size, plus the toolset itself takes up at least 7GB of HDD space. This amount of memory might well be used by something more important to the user – again, unless app development is being done on the Mac machine.
• Furthermore, the newest version - Xcode 6 - has been reported to act up in some cases. Users are encountering bugs in the Swift compiler, where some lines of code in a project cause the toolset to freeze, which in its turn leads to overall system slowdown issues. Yet another known problem is the older version of Xcode launching even after the latest one got installed.
At the end of day, if any of the above is the case and you need to uninstall Xcode from your Mac, it might turn out to be a more complex task than simply moving the application to the Trash. This software tends to integrate its components into several OS locations, therefore to make sure the process is thorough you will need to go a little more hi-tech and clean up the entire footprint produced by this IDE.
Uninstall Xcode manually
Be advised the simplest way of uninstalling Xcode you could think of, that is, dragging the respective object from the Applications folder to the Trash, is not an ultimately efficient workaround. Just a quick retrospective: the above fact would particularly apply to versions prior to 4.3 due to multiple components that were scattered in different places on the system. Newer builds are much more integrated as a single application, and yet the regular removal might leave some stuff behind. Anyway, give the procedure below a shot and see if it works all the way.
1. Go to Applications –> Utilities and launch the Terminal
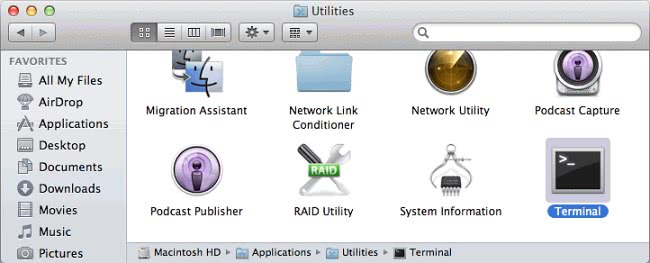
2. When in the Terminal, type the string below and enter your admin password if requested

3. Go to Developer –> Applications and locate the Xcode app on the list
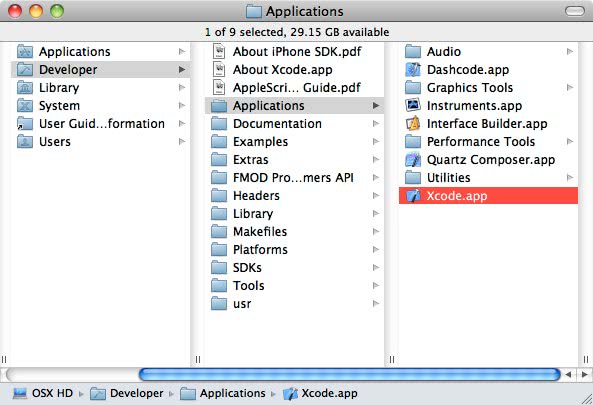
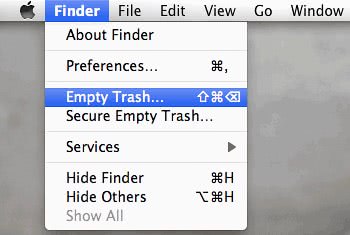
4. Move the Xcode item from Applications to the Trash. Then go to Finder and select Empty Trash in the drop-down.
Use automatic tool to uninstall Xcode from your Mac
Unless you are a power user, you run the risk of failing to find and delete some components of this infection on your own. Overlooking dodgy LaunchAgents, LaunchDaemons, and malicious configuration profiles means that the threat will continue to cause problems. A more efficient alternative to manual cleanup is to use MacBooster 8, an application that will scan your Mac for issues and fix them automatically.
The app comes with a competitive toolkit that includes Virus & Malware Scan as well as a decent range of optimization features. Therefore, not only does it identify and vanquish mainstream Mac viruses but it also releases disk space and memory so that your computer gets a performance tune-up. Here’s how to go the route of Xcode removal with MacBooster:
- Download and install MacBooster 8.
By downloading any applications recommended on this website you agree to our Terms and Conditions and Privacy Policy. The free scanner checks whether your Mac is infected. To get rid of malware, you need to purchase the Pro version of MacBooster.
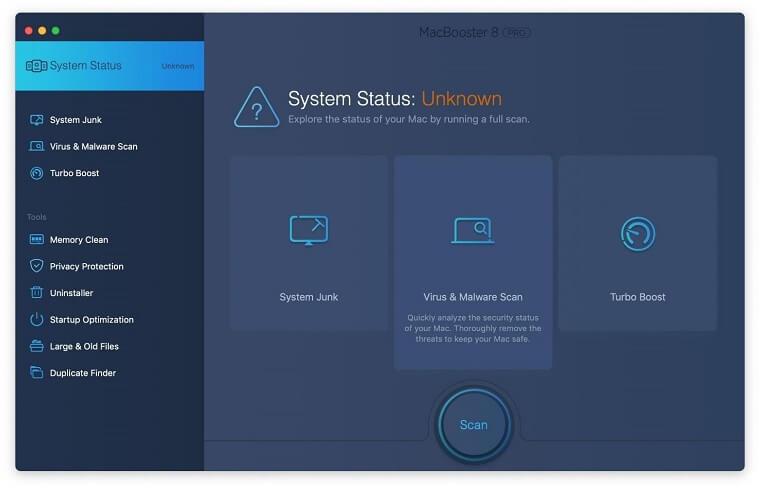
- Open the app. When on the System Status screen, click the Scan button to check your Mac for viruses, junk files, and memory hogs.

- Once the scan is completed, inspect the report to see what security threats and performance issues have been found. To get rid of the detected items, click the Fix button at the bottom.

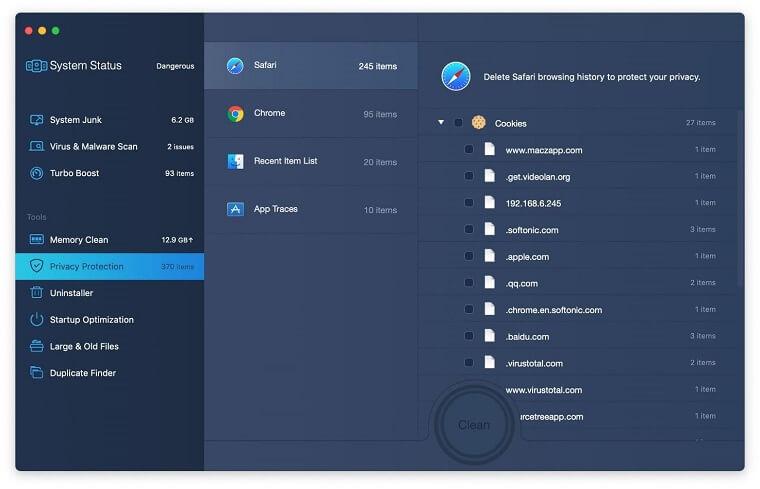
- As an extra step, you might want to make sure that the Xcode infection leftovers are no longer riddling your web browser. This can be the case in an adware scenario. Proceed to the Privacy Protection feature in the left-hand sidebar, select the default browser in the list, and click the Clean button.

- In case your web browser is still acting up, follow the steps provided in the previous section of this guide to get rid of the adverse web surfing interference for good.
